Some months ago I was invited by a lovely lady from the South Infirmary- Victoria University Hospital to come look at their children’s unit.
The hope was to create a pleasant space for the children who find themselves there for a period of time, it might be over night or indeed a number of nights.
As many of us know hospital wards are very busy places and space is at a premium.
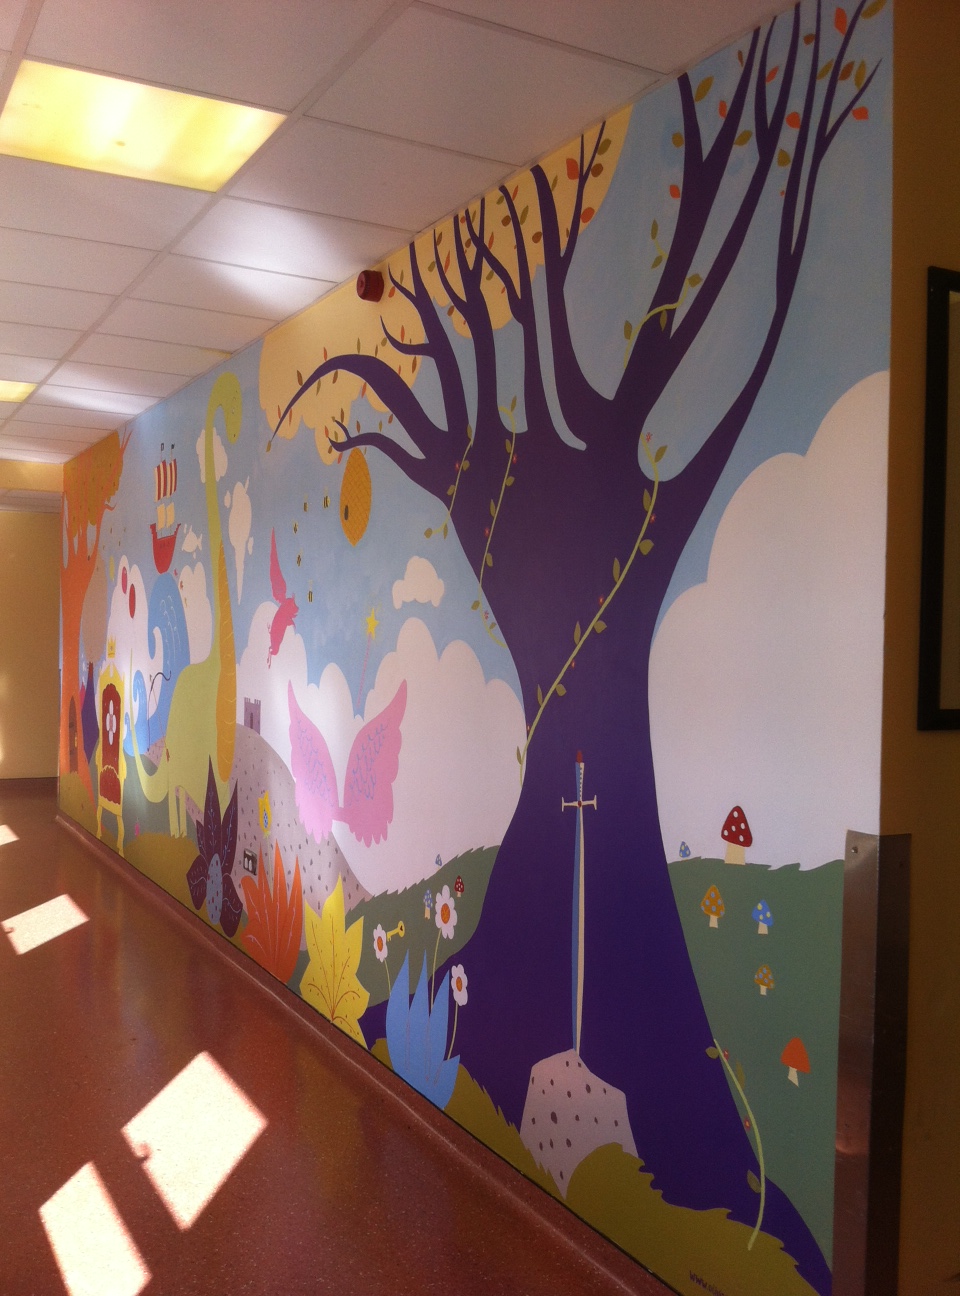
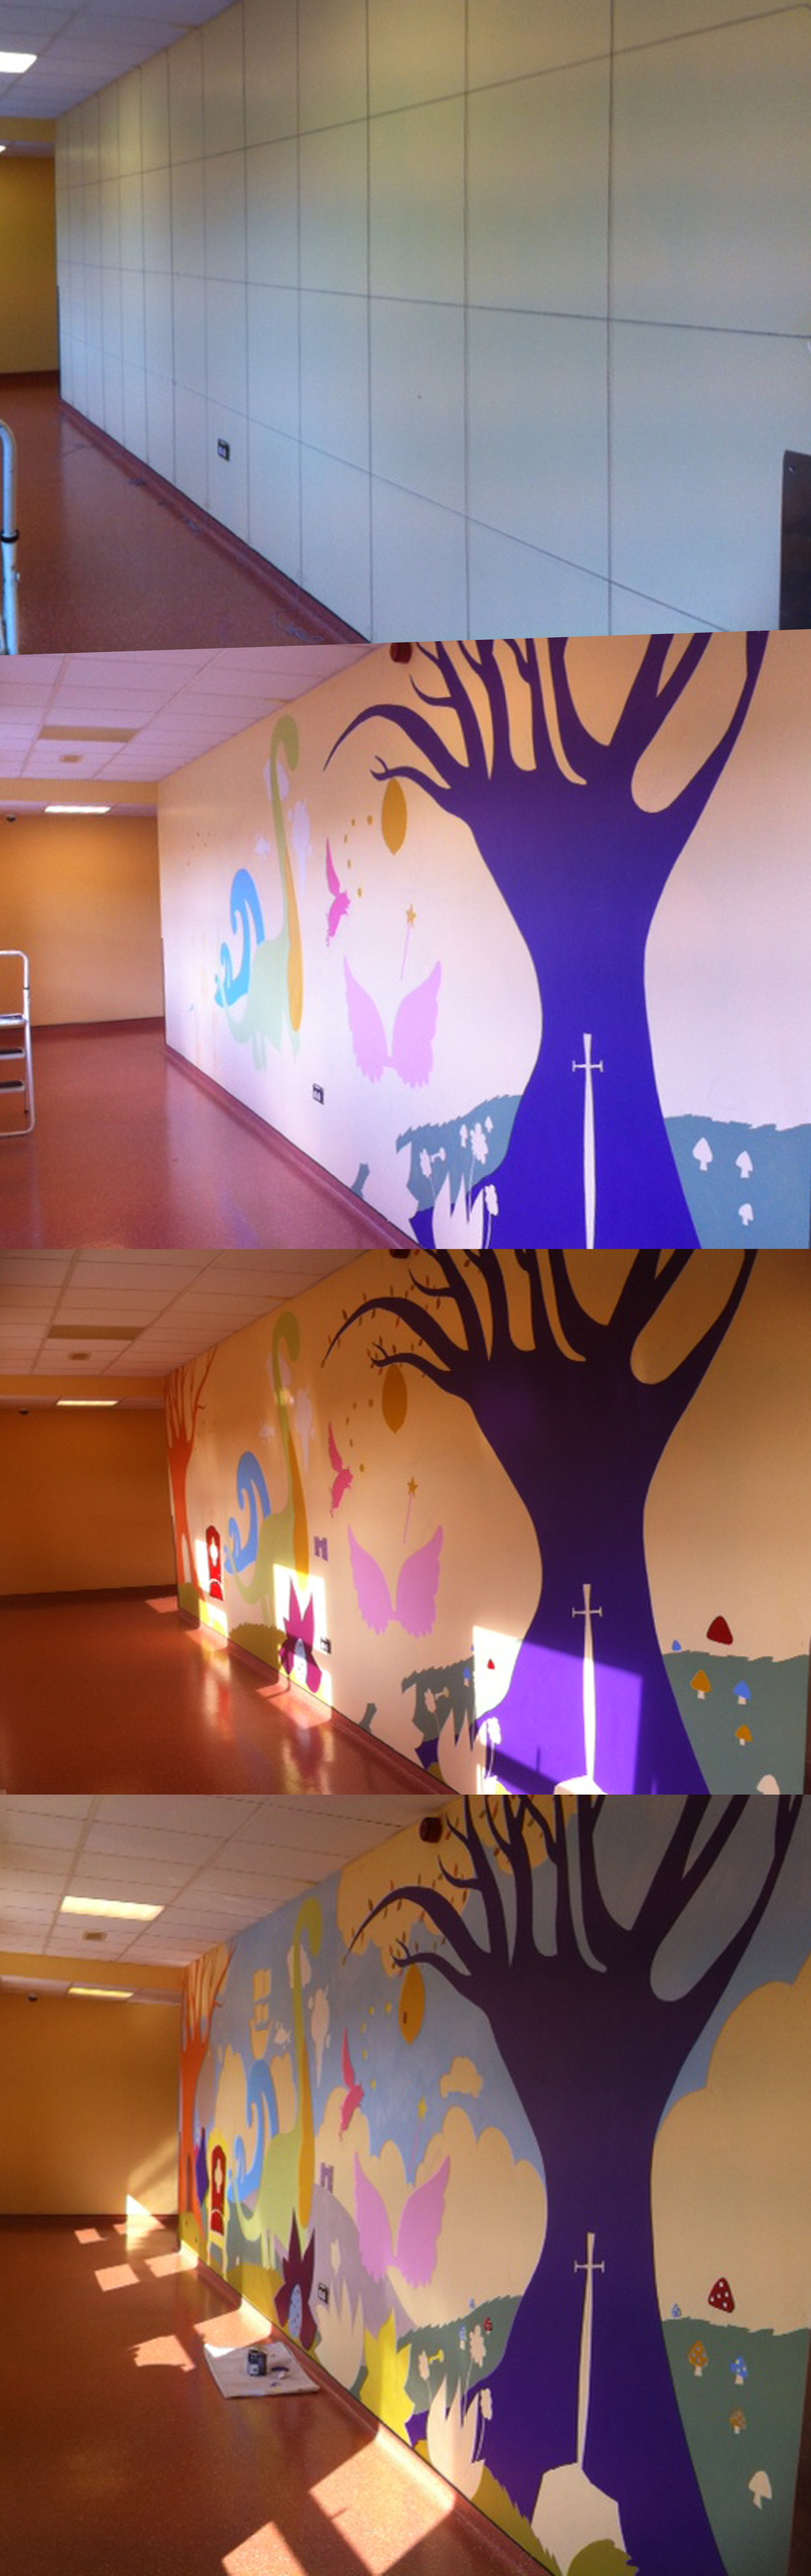
Fortunately the children’s ward has one very bright and fairly spacious corridor that serves general traffic in and out of the wards.
The main wall here is 25 x 8 ft.
I had full creative license so this became the focus of my attention as being the main space for children to get out of their rooms and shake a leg in a fun and secure space.
The unit accommodates babies right up to teens.
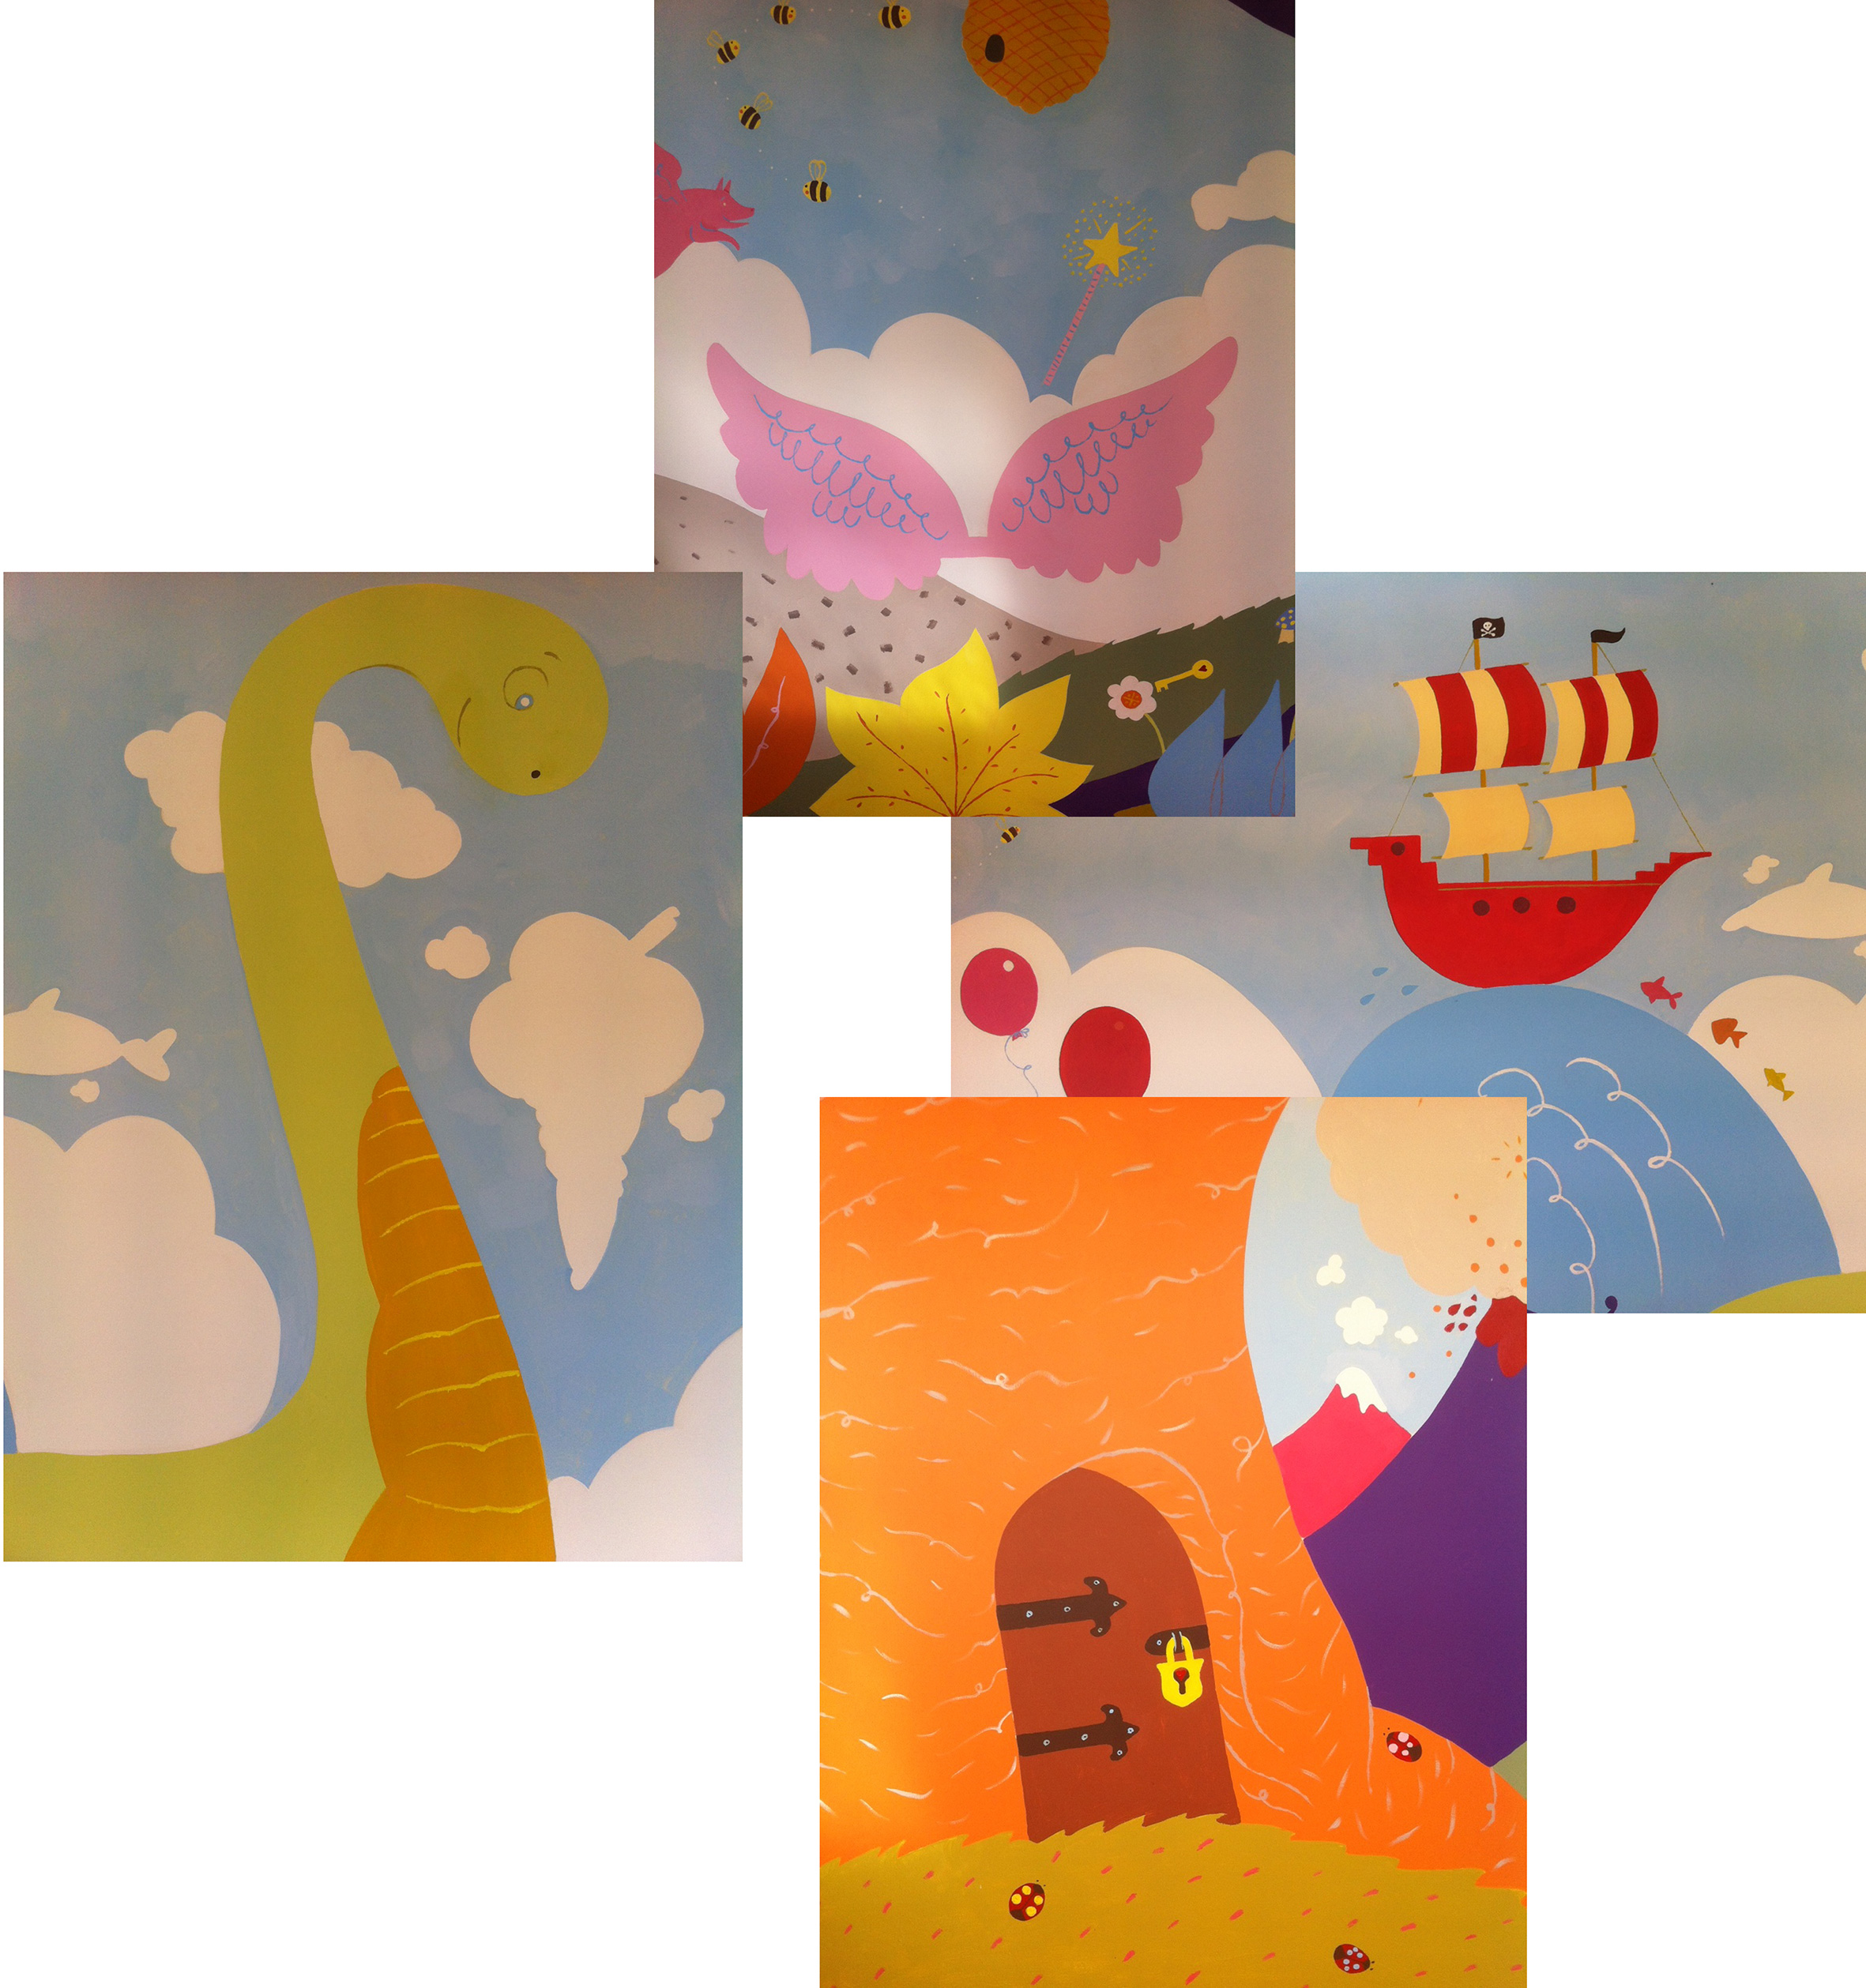
The focus for me was to create and image that was colourful, uplifting and a little bit ridiculous really.
Also it being a working ward I had to be conscious of traffic such as trolleys, wheelchairs, catering and cleaning staff and parents and family making their way in and out to their loved ones.
Infection control is also an issue in a place such as this so 3D additions were not up for consideration.
With all of that in mind I decided on a graphic and colorful visual style and a montage of images within that.
Time was an element too- the longer one spends working in a space such as this the more disruption caused to those using the facility.
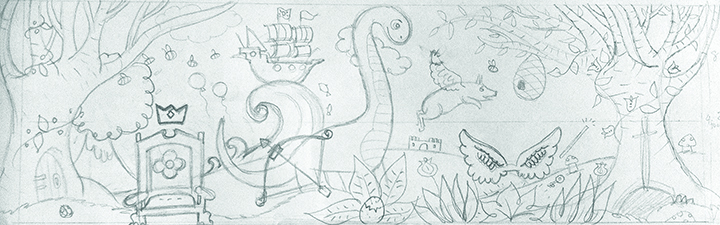
Having put a pencil sketch together and got that approved I proceeded to tackle the problem of getting the image on the wall!
As I mentioned this is a long corridor, but not so wide as to accommodate using a projector effectively ( or a video camera so there no lovely time lapse video of it either )
So much as I dread it, I had to go old school and use a grid!
Yikes, there’s nothing like a grid to bring on the cold sweats.
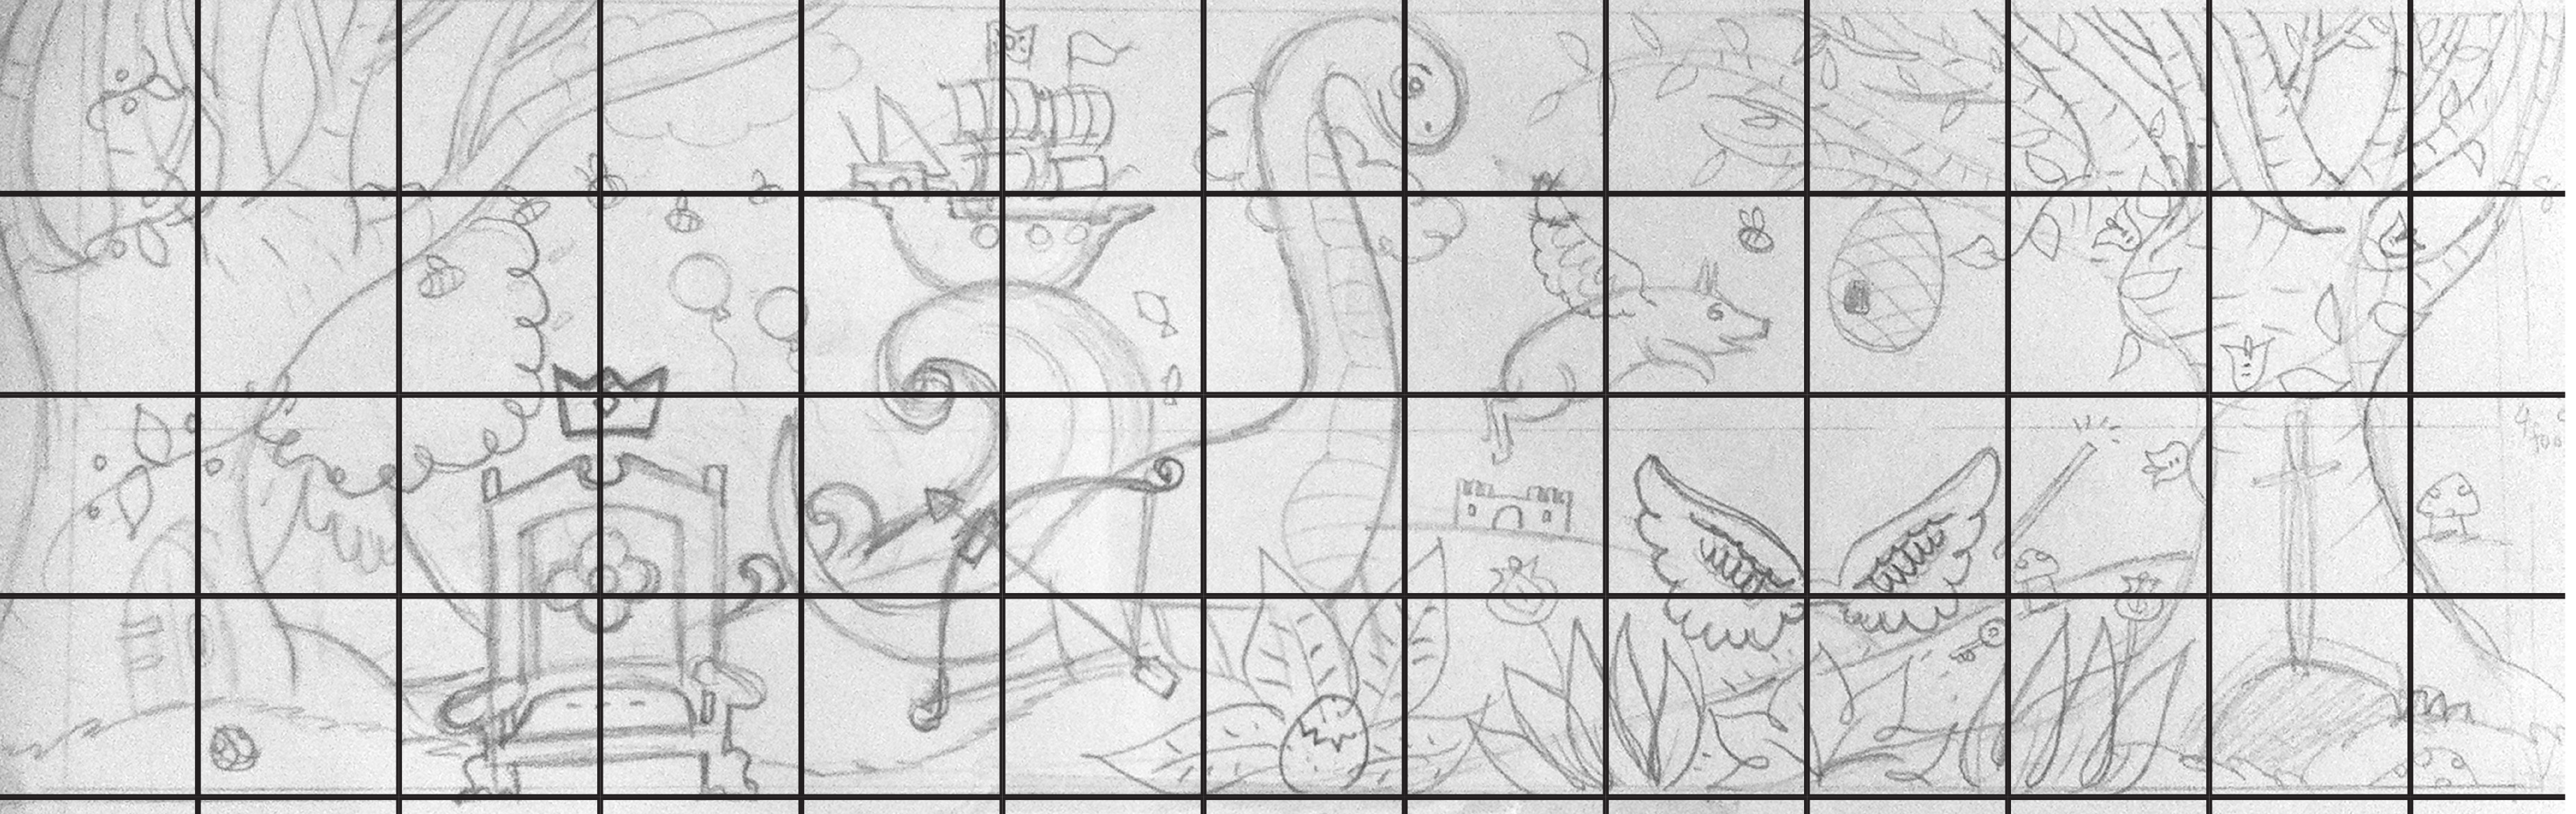
First apply your grid to the sketch on paper- (HINT if you’re working from an original drawing- make a photocopy and pop the grid over this always preserve your original). The grid on paper was to a scale 1 inch squared = 2 feet squared on the wall. This way my rough fits on an a4 page which is easy to handle.
Being 25 feel long the question was how to create this grid without help?
The answer is – string.
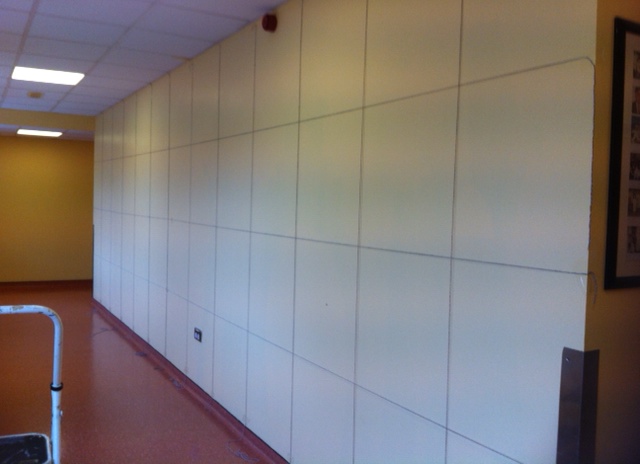
Yes get yourself some string/ yarn and good quality masking tape.
Measure out the grid vertically and horizontally either end and some where in the middle ( string will sag in the middle a bit over this distance ) and stick it into place at all 3 points.
It also works out well that once you’ve transferred the images on there are no extra grid lines to paint over as you can simply remove the string and hey presto! Next came transferring the image freehand into place.

Using light coloured chalks, a different color for each object so as there would be no confusion when painting up close, I drew on the main images and inspite of using a grid I allowed myself to play around with the scale of individual elements where necessary.
Once thats complete it’s the fun part.
 Paint time. Working with vinyl matt paints – straight from the tin I got to work.
Patience and a steady hand is an absolute must for this part.
I started by blocking in the flat color areas- of which there were very many. Once dry I applied a second coat and so on and so forth. Having chosen a core palette of colours I applied colour on the fly. I had decided early on at the sketch stage that the best approach would be to apply colors as they felt right on the day. Having not worked with this exact pallette/ range of paints before it was impossible to know precisely how they would dry, so intuition took over.
When the block areas were dry all that remained to do was add some line work over the top to bring a bit of detail without diluting the over all color fresh look.
It took a solid five days of physical graft and copious amounts of tea to complete, but I am so proud of the end product. The staff in the children’s ward are a highly dedicated bunch and I wanted them to be proud of THEIR unit, hope I’ve been successful so far.
So thats Phase 1.
Phase 2 will be the playroom with the added challenge of working in an eggshell finish.
Can’t wait to get started. Keep an eye out for the finished article in the next few weeks
